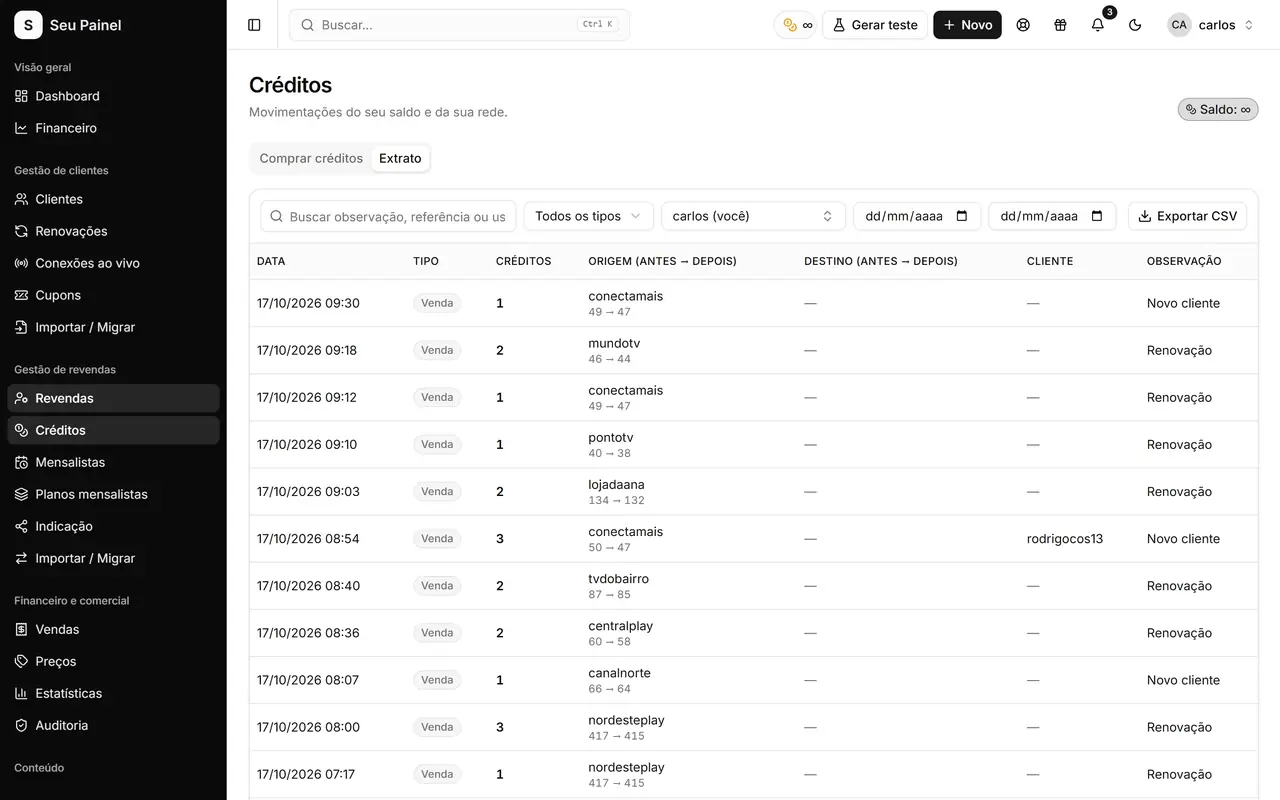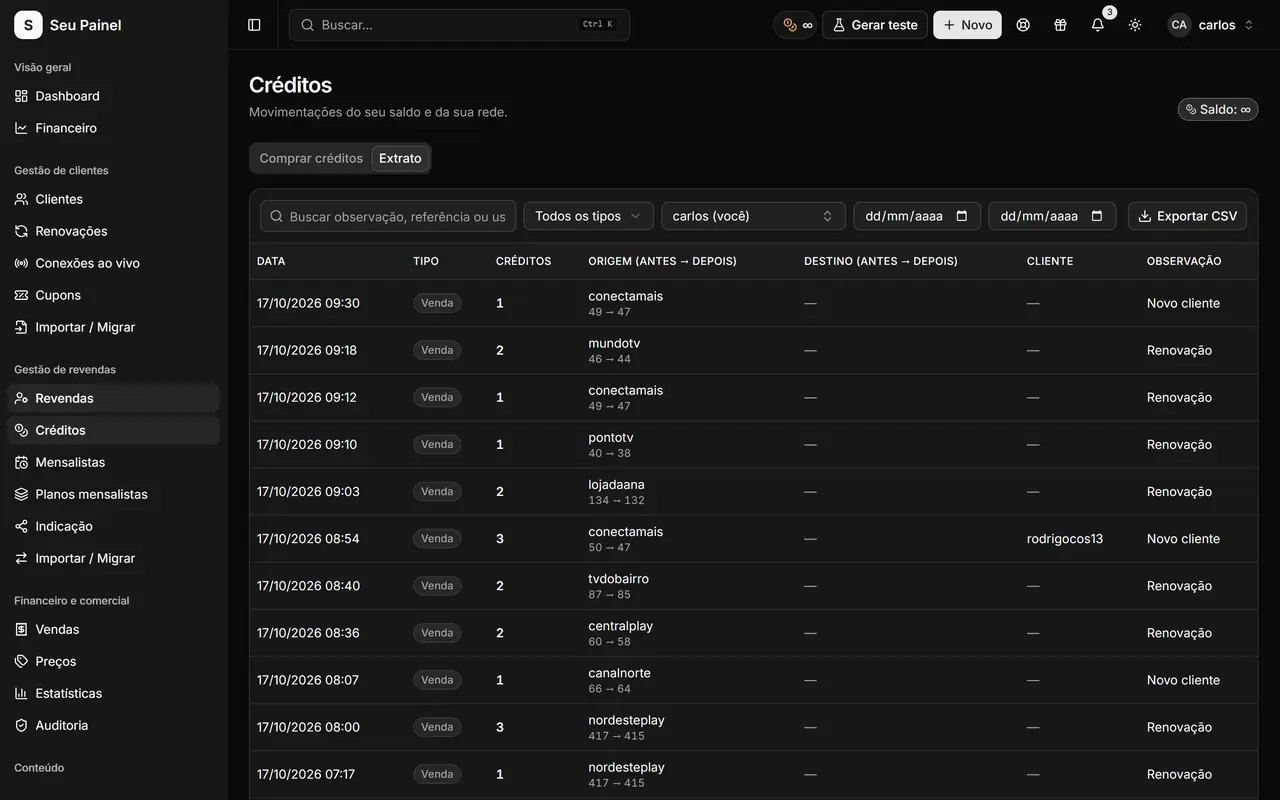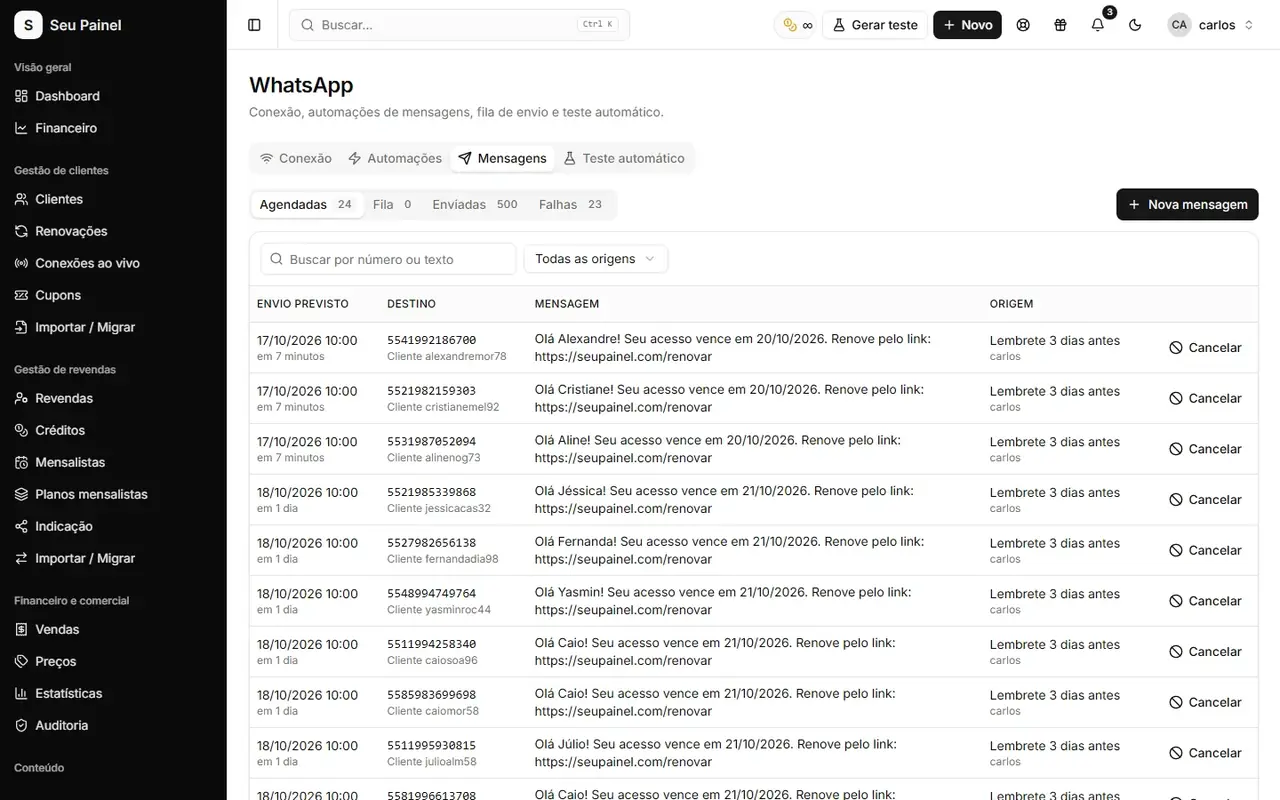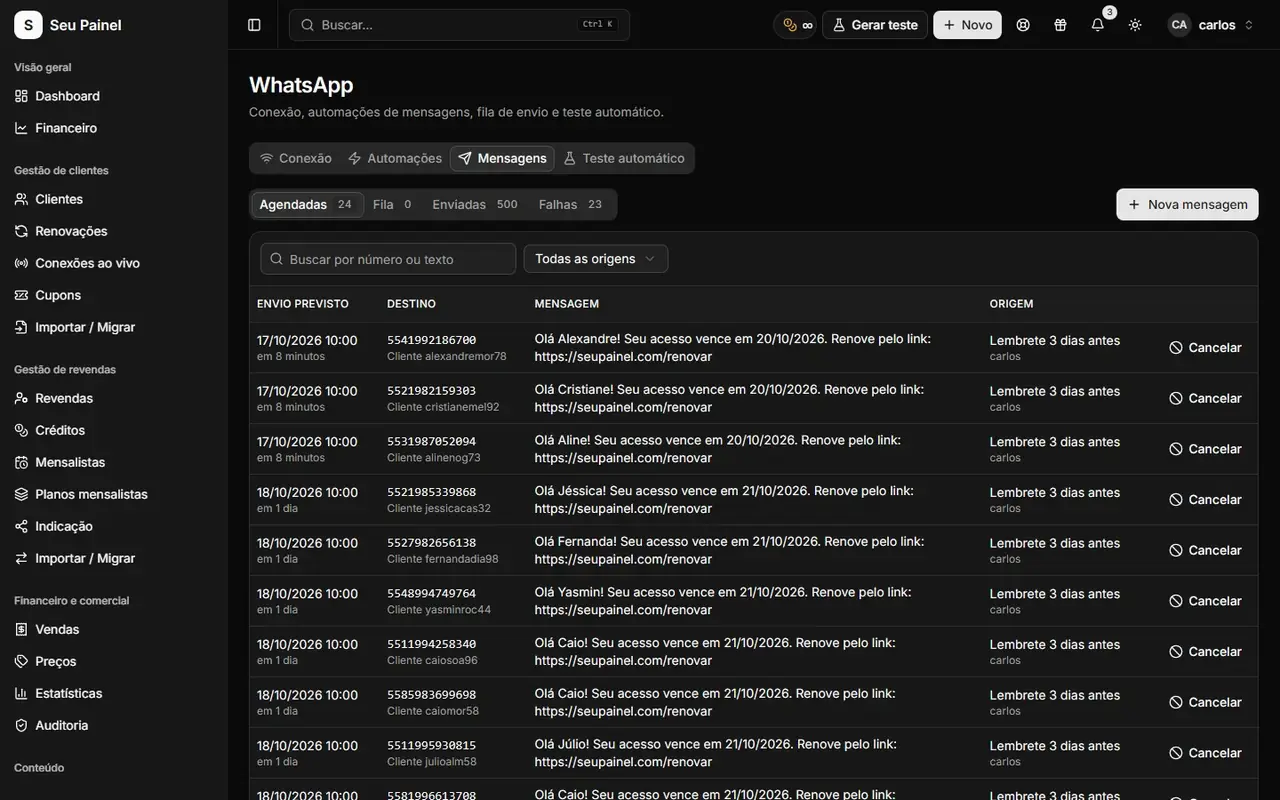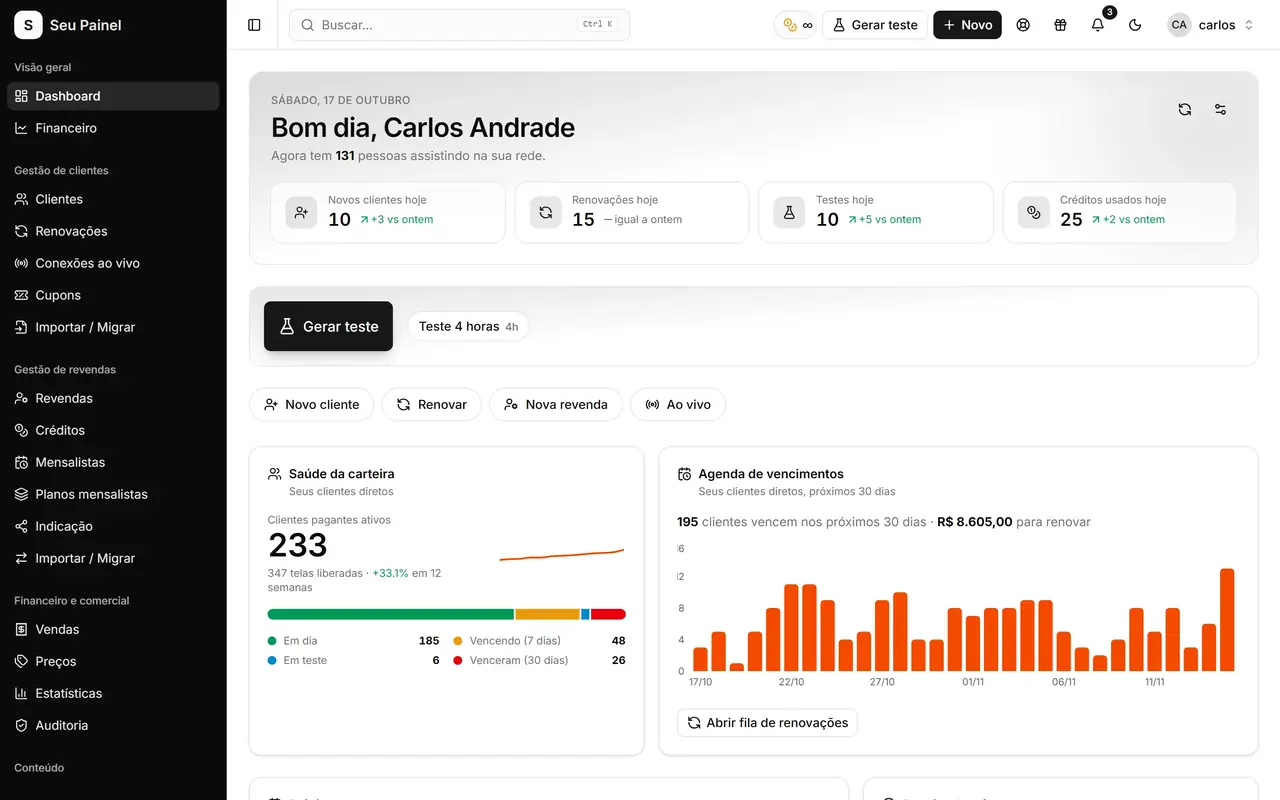
When your customers or resellers log in and see another company’s name, you lose something hard to measure: the feeling that the business is yours. White label fixes that. It lets the panel you use to manage customers, subscriptions, renewals and resellers show up with your brand, your colors and your address.
This guide covers what is worth customizing, how to set up your own domain without headaches, and which mistakes to avoid at launch.
Why your own brand matters
A branded panel is not just about looks. It changes how much people trust you:
- Customers recognize who is charging them. On the renewal page, seeing the same name and logo they know from WhatsApp makes paying by Pix feel safe.
- Resellers sell your brand, not your supplier’s. That protects your network: people reselling for you have no reason to go around you.
- You stay free to change things behind the scenes. If the address and identity are yours, the customer experience does not depend on someone else’s name.
What you can customize
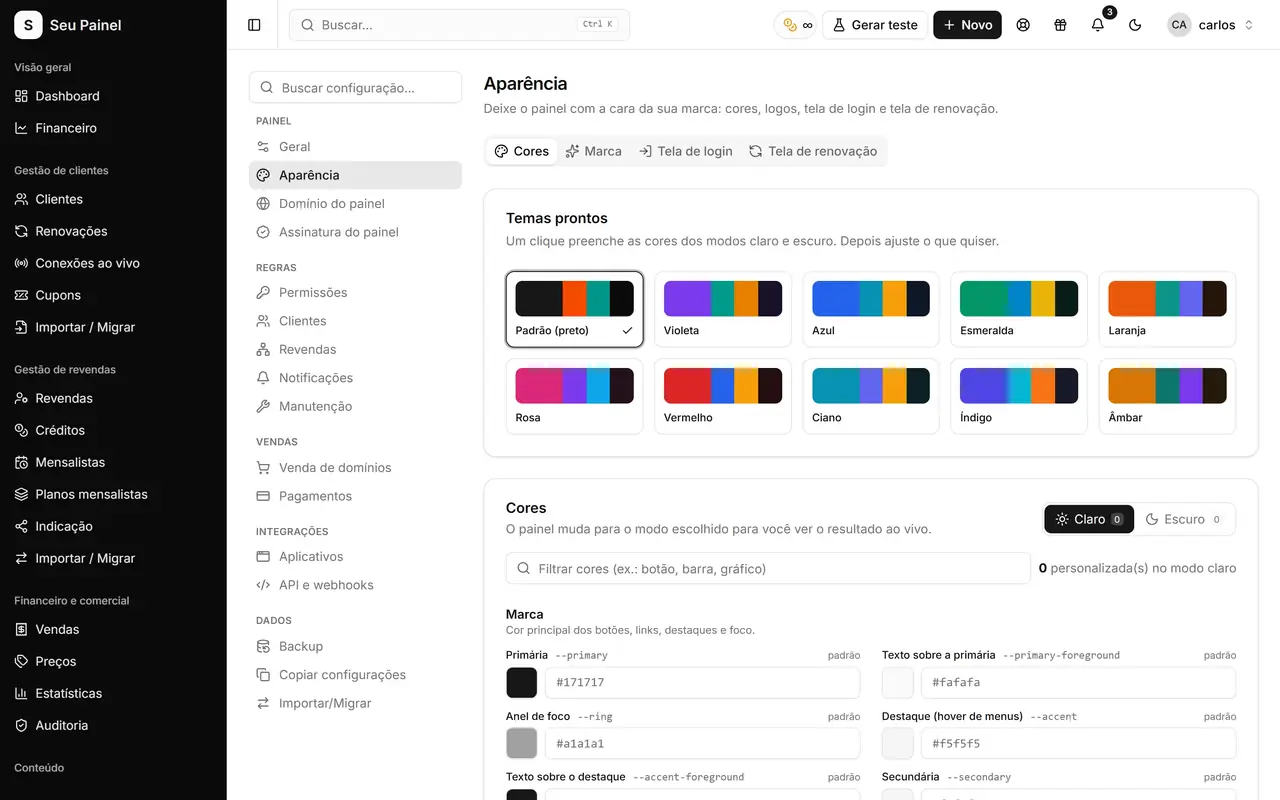
In Painel Blend, Settings → Appearance holds the visual identity. Here is what usually goes into it:
| Item | Where it shows | Practical tip |
|---|---|---|
| Panel name | Title, browser tabs, messages | Match the name on your WhatsApp profile |
| Logo and favicon | Sidebar, login, browser tab | Keep one version for light and one for dark backgrounds |
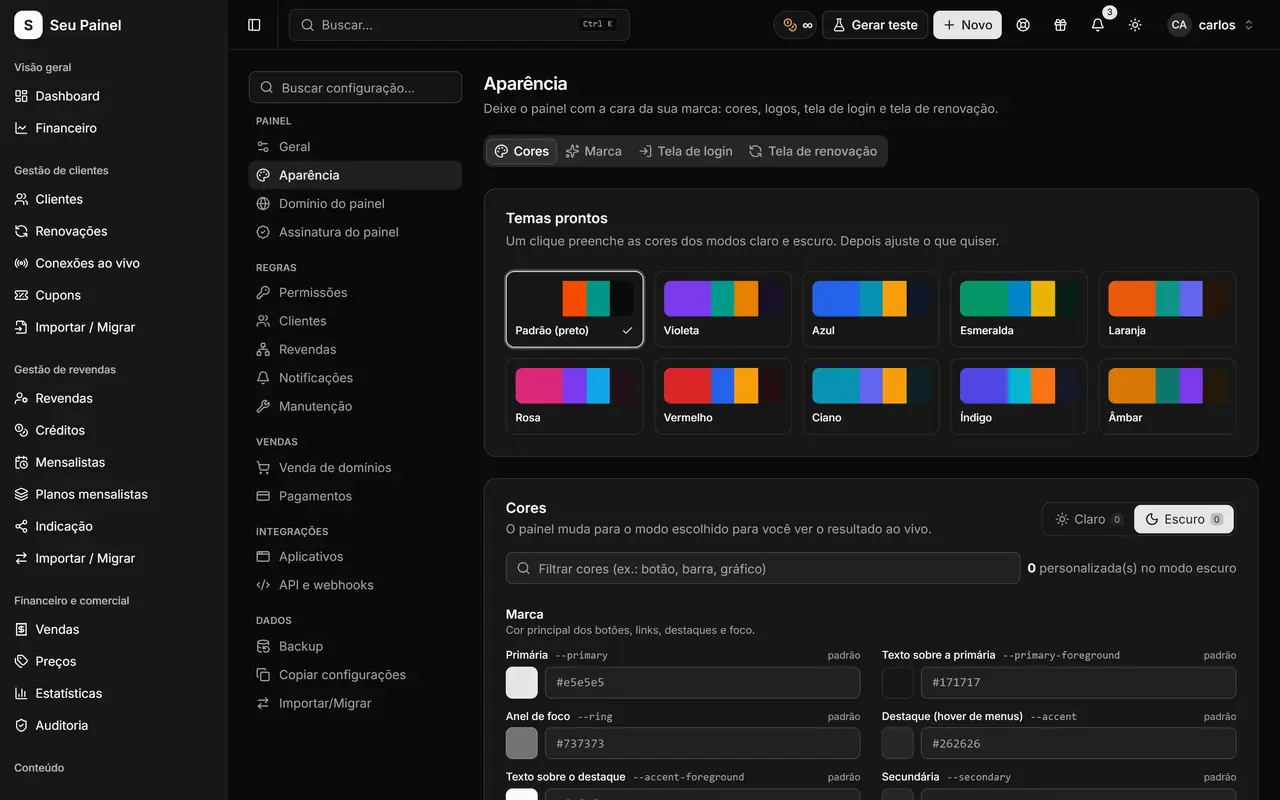
| Colors and theme | Buttons, highlights, sidebar | Start from a preset and tweak only the main color |
| Corner radius and sidebar | Overall look | Keep it consistent with your website and socials |
| Login background | Sign-in screen | An image, video or soft gradient, nothing busy |
| Login and renewal pages | Access and payment | Short copy, with your support contact |
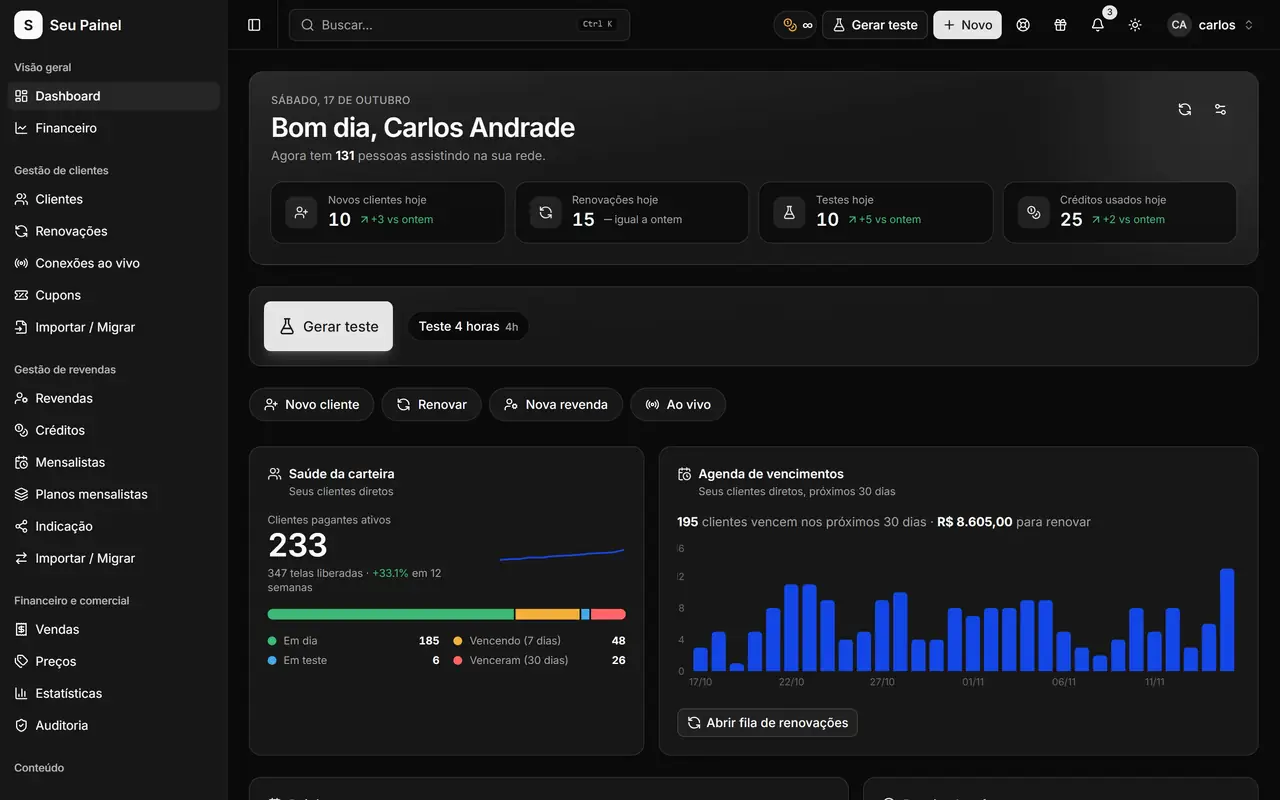
The panel has light and dark modes, so test your palette in both. A color that looks great on white can disappear on dark.
Step by step: setting up your own domain
An address like panel.yourbrand.com inspires far more confidence than a generic link. Setup takes two DNS records, and the HTTPS certificate is issued automatically.
1. Pick the subdomain
Choose something short and obvious: panel., app. or access.. Avoid names that could confuse customers or that you might change later.
2. Add the domain in the panel
Under Settings → Panel domain, enter your subdomain. The panel shows the records you need to create.
3. Create the CNAME and TXT records at your DNS provider
- The CNAME points your subdomain to the panel.
- The TXT proves the domain belongs to you.
Copy the values exactly as shown. An extra space or a missing dot is the most common reason verification fails.
4. Wait for verification and HTTPS
Once DNS propagates, the panel checks the records and turns on HTTPS automatically. Propagation can take anywhere from minutes to a few hours depending on the provider.
5. Test before announcing
Open the new address in a private window, on your phone and on desktop. Log in, open the renewal page and check that the padlock shows in the browser.
Common mistakes (and how to avoid them)
- DNS proxy turned on when it shouldn’t be. Some providers enable a proxy on CNAME records by default. If verification doesn’t pass, check that option in your provider’s docs.
- Heavy or cropped logo. Use lightweight images with some padding. A huge logo makes the login slow on mobile.
- Low-contrast colors. Light text on a light button is hard to read. Test on a phone with low brightness.
- Changing the domain after you announce it. Old links live on in customers’ WhatsApp chats. Get it right the first time.
- Forgetting the renewal page. It is the page customers see most outside the panel. Customize the copy and add a support contact.
Brand launch checklist
- Name, logo and favicon set.
- Palette tested in light and dark mode.
- Login background chosen and lightweight.
- Custom domain verified, HTTPS active.
- Login page with a short message and a support link.
- Renewal page with your name and payment instructions.
- Access messages (playlists) updated with the new address.
- Resellers told about the new link.
Item 7 is the one people forget. If the messages sent to customers still carry the old link, the rebrand is only half done. Review the templates used for trials too; we cover that in the post on trials with playlists that convert.
Your brand across your reseller network
If you work with resellers, visual identity also helps you keep your network. Everyone uses the same branded address, gets notices inside the panel and buys credits from you. See how to structure it in the guide on reseller networks with credits.
Start with your brand
With your name, colors, login, renewal page and domain in place, the panel becomes an extension of your business, not someone else’s. See every detail on the White label and custom domain page and, if you want to try it hands-on, request access to the closed beta or join the waitlist.